


Strength and Conditioning for Handstands

Handstands are a movement that is very common within the sport of gymnastics, acrobatics and cheerleading. They build the basic foundations for an athlete and allow them to build confidence to perform more complex skills. In order to do a handstand with confidence, an athlete needs to practice, practice, practice!
Here are some strength and conditioning exercises that can help you build the basis needed to hold and develop a perfect handstand.
1. Condition your Wrists
The wrists are what is holding your body up when you do a handstand so it's crucial to work on your wrist strength and flexibility first and foremost. It is important to be consistent and gradually build up the strength in all of the tissues in our wrists and hands.
Flexibility in the wrists is one of the key foundations when it comes to being able to effectively do a handstand. In a straight handstand, wrists will need to be able to bend to or go past 90 degrees, and your shoulders should be able to open up to at least 180 degrees. When attempting to build strength and flexibility in the wrists, it is important to practice skills and drills at least every 2- 3 days to allow time to recover in between conditioning.
Some helpful exercises and drills include:
Wrist Push-Ups:
Come to all fours on a yoga mat or any gym matting that you may have available to you. Stack your hips roughly over your knees and your shoulders roughly over the top of your wrists. When placing your hands on the floor, ensure that your index fingers are parallel and pointing ahead. From here, spread your fingers and 'grip' the floor with your hand so that the whole of your palm is touching the ground. Push your fingers to lift the palm of your hand off the floor. When doing this, make sure your fingers remain grounded. After lifting, sink your palm into the matting again. Do this movement again, but this time, push your fingers so that they lift the palm of your hand as well as most fingers from the ground. Make sure your fingertips are the only parts of your hands touching the mat. Repeat as many times as desired.

Image Source: via Camilla Mia
Flicking The Water Drill:
Start this drill by sitting relatively comfortably with a straight back. You may use a wall for the back support or you can sit on your shins if this is more comfortable for you. Bring your arms up overhead and close your palm tightly into fists. From here, open your palms and stretch your fingers wide, almost as if you are trying to flick water off your hands. Repeat as many times as desired at any pace you feel comfortable with.
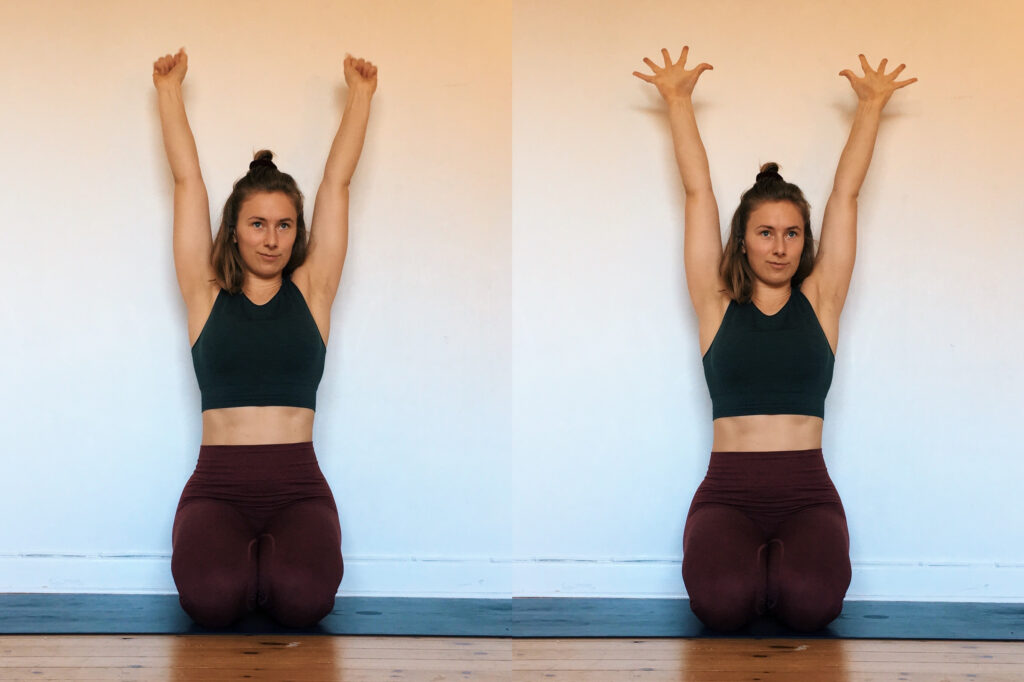 Image Source: via Camilla Mia
Wrist Extension:
Similar to the wrist push-ups, start this drill on all fours. Spread your fingers widely, ground your palms into the floor right below your shoulders and rotate your hands so your index fingers become parallel. From this position, you will see that you can really activate your entire palm through pressing the back of your index finger's knuckle into the ground. Activate all 10 fingers through, imagining that you are trying to grip the floor. While doing this, keep your elbows straight as you inhale and start leaning the shoulders forward past your wrists. Go as far as you feel comfortable. When you exhale, come back to the neutral, initial position that you were in. In a nutshell, when you inhale, lean the shoulders forward and when you exhale, come back to neutral. Repeat this at least 10 times or as many times as desired.
2. Build flexibility and strength within your shoulders
When first starting out on your handstand journey, you need to have a sufficient amount of shoulder strength and flexibility. It is heavily recommended to practice shoulder mobility as this will allow you to be able to 'stack' your shoulders over your wrists in handstands.
To help build your flexibility and strength in your shoulders, check out some easy exercises and drills below.
Shoulder Shrugs:
Start on all fours, with your shoulders 'stacked' on top of your wrists. In this position, imagine you want to push the ground away. Lift actively up and out of the shoulders, and spread your shoulder blades (protraction). Once you have done this, retract your shoulders and allow your upper body to sink down again. Repeat at least 10 times. If you are looking for a challenge, instead of starting on all fours, start in either downward dog or the planking position, or even against a wall!
Shoulder Openers:
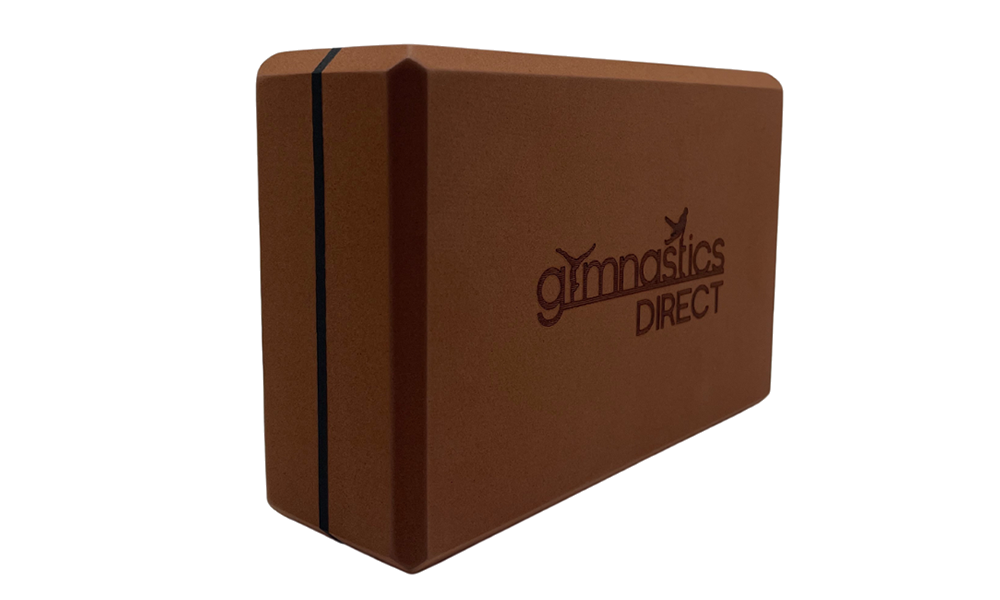
Position yourself into all fours on your mat. Stack your hips on top of your knees whilst waking your hands forward. Rest either your forehead or chin on the ground. When doing this, you should feel a stretch in your shoulders and chest. For less intensity, you can place either a yoga block, or a book under each of your hands. From this position, bend your elbows and reach back towards the back of your neck. Ensure that your hands meet when doing this!
3. Strengthen Your Core
Due to the hollow body shape that is needed to hold a handstand for a decent amount of time, you must work on your core strength, as it is ideal for when it comes to keeping the ribs and lower belly tucked in. Overall, this allows for a much more stable handstand.
Find some good exercises and drills that will help with building that core strength below.
Warrior 3:
This is great for when it comes to keeping your whole body approximately in one line. Start in a standing position, and then from here, kick back with one leg, sending your upper body forward. Find a focal point on the ground that you can focus on as this will help with maintaining your balance. Slightly bend the leg you are standing on if this proves to be difficult. Brace your core as much as you can. Reach backwards with the heel of your foot as if you are trying to kick the wall behind you. Ensure that your hips are level, and reach your arms overhead. Try doing this for 20-60 seconds with your core engaged.
One-Legged Plank Drill:
Start in the planking pose. Engage the palm of your hands and fingers to prevent all of your weight from going into your wrists. Suck your belly button back into your spine, knit your ribs in, and lean forward in order to 'stack' your shoulders on the tops of your palms. From here, lift one leg up with your core still engaged. Lower this leg back down again. Repeat with the opposite leg. Lift each leg 20 times and hold the lifted leg for at least 10 seconds on the last repetition on each side.
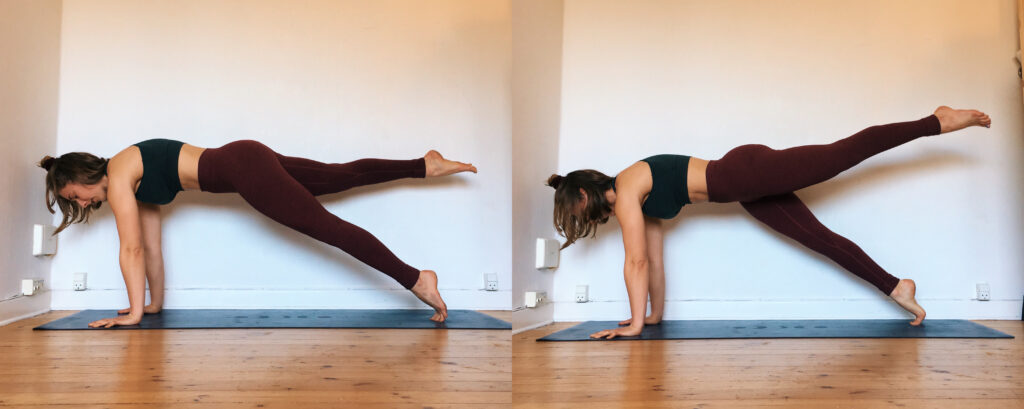 Image Source: via Camilla Mia
For more core exercises that you can do with little to no equipment, check out our blog here.
4. Try Against A Wall
Once you have conditioned your wrists, shoulders and core, it's time to start trialling out the handstands. We recommend that you try against a wall, with either a handstand mat or some form of to prevent the wall from getting marks on it and also protect the gymnast in case of a fall.
To start, sit with your back pressed against your nominated wall, and your legs straight in front of you. From here, get on all fours. Place your hands on the ground roughly where your heels were in the first position. This will allow you to guide yourself up the wall in a safe manner. From here, press the soles of your feet pressed up against the wall, keep your arms straight, and spread your fingers out. When doing this, ensure that you pull your shoulders back, drawing them out in order to broaden your collar bone.
To shift in the handstand position, pull your bottom into the air whilst straightening your legs and arms. When doing this, keep in mind that you want to look like you are doing the downward dog position. Walk your feet up the wall and straighten your legs once you reach the top.
Perfecting Your Form
So you can do a handstand - What now?
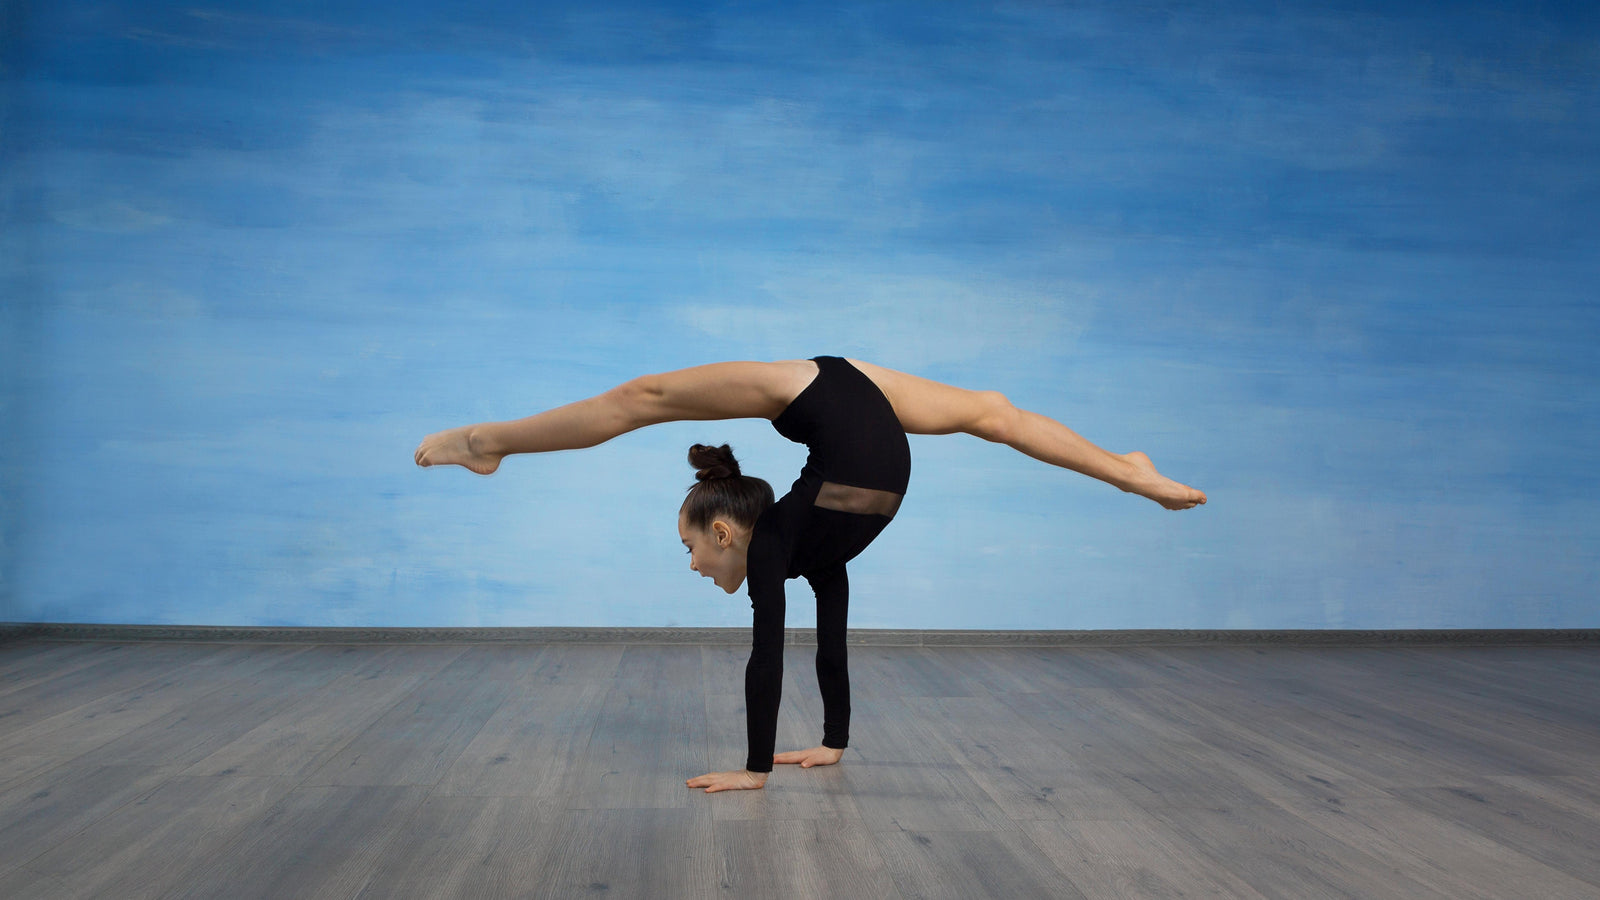
One of the most important features of doing a handstand is making sure you have the correct form. Essentially, you want to hold a hollow body shape as this helps prevent athletes from gaining injuries. The team at Neophyte Performance breaks it down for us.

Image Source: via Instagram @neophyte_performance
As pictured above, this athlete is showing the incorrect way to hold your body when it comes to doing a handstand.
Upon closer analysis:
- Her spine is not protected and her glutes are not engaged.
- The athlete's shoulders are also closed, which means that she will be unable to block during tumbling skills, and also leads to becoming more prone to injuries.
- You will also see that her core is not engaged either, which lead to a very unstable handstand.

Image Source: via Instagram @neophyte_performance
However, in the second photo above, the athlete demonstrates the correct way in which you should hold your body to effectively be able to do a handstand.
Let's take a closer look:
- Her glutes are squeezed, which is allowing for an 'open' position with her hips.
- Her T- Spine is rounded, and her ribs are tucked away. This allows for the protection of the ribs.
- Armpits are pushed to the floor, allowing for her shoulders to be 'open'.
- Her head is neutral, with her eyes looking at her fingers.
Follow these tips, and you'll be a handstand pro in no time! Show us your handstand skills via Instagram to be featured on our socials.
Leave a comment
Also in Tips and Tricks

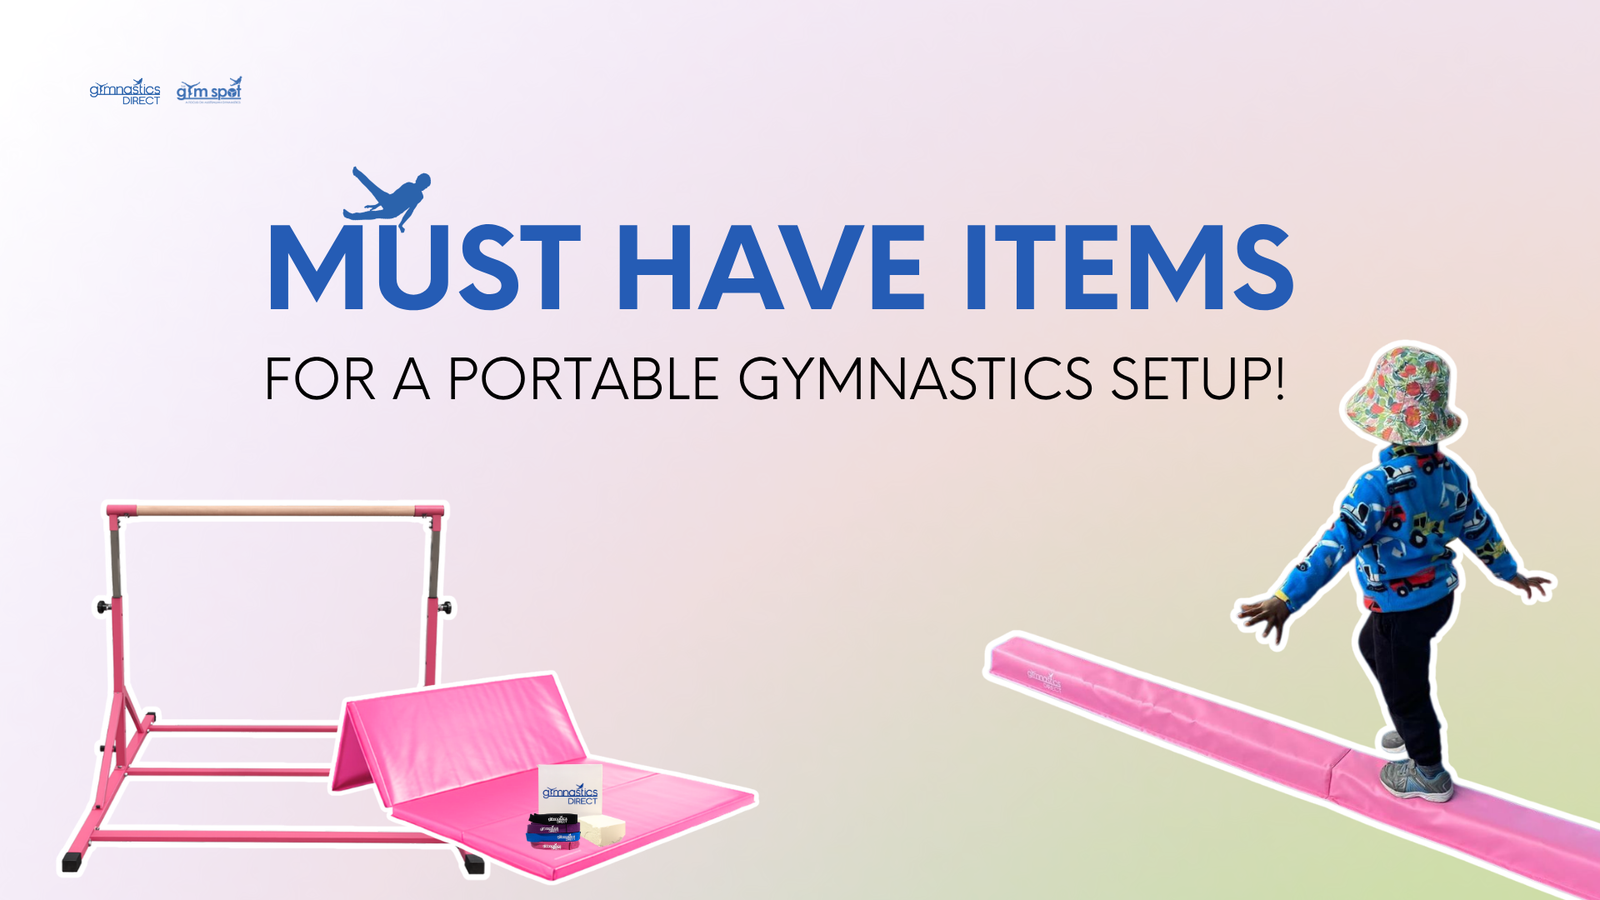

Top 5 Must-Have Items for a Portable Gymnastics Setup
Setting up a space for gymnastics practice at home is easier than most people expect, and you don't need a full gym to do it safely or effectively. Here's our guide to the five must-have items for a portable setup

Beginner Gymnastics Floor Drills
Learn essential gymnastics floor drills for beginners. Improve cartwheels, roundoffs, and handsprings with safe, easy-to-follow progressions.